Mountaineering and hiking Backpack
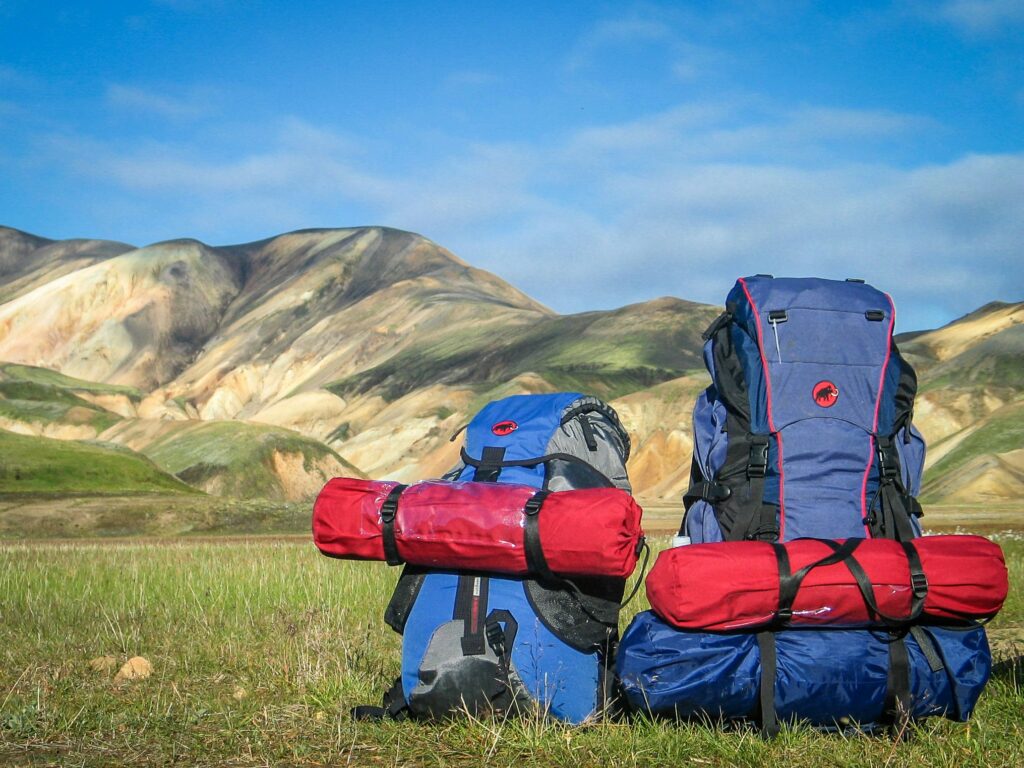
Having been mountaineering for more than 32 years, I can say that the backpack is the Alpha of the equipment that any hiker or mountaineer will need to have in order to enjoy the activity they have chosen to do. Choosing a backpack is not a simple matter and every candidate who wants to get a backpack will have to take into account many factors. Below I try to classify the basics that someone should pay attention to when buying a backpack.
The evolution in material technology in recent years has brought a revolution in the way of manufacturing mountaineering backpacks (which are basically those that also serve hikers) as anatomical shapes, adjustable systems, stabilization systems offer the user high quality backpacks with low weight. So let’s see how to choose a backpack correctly.

Need
The need First, we should ask ourselves what our needs are It is important to ask questions and tailor your backpack selection and preparation to the intended activity. What is usually needed? Don’t forget that it depends on what you will do where you are going, a day hike has different needs and when we are talking about mountaineering, there are some things that you will definitely need to have with you.
Ask yourself What type of terrain will I cross? Duration of activity? How many hours or days will I walk? I will hike independently or stop at shelters and make stops Equipment needs? Do I need to carry the equipment of other hikers or my children? Height differences
Hours
Hours of use First of all, we will have to see the basic needs of use that we have, initially defining how many hours and days we will need the backpack.
Day hikes
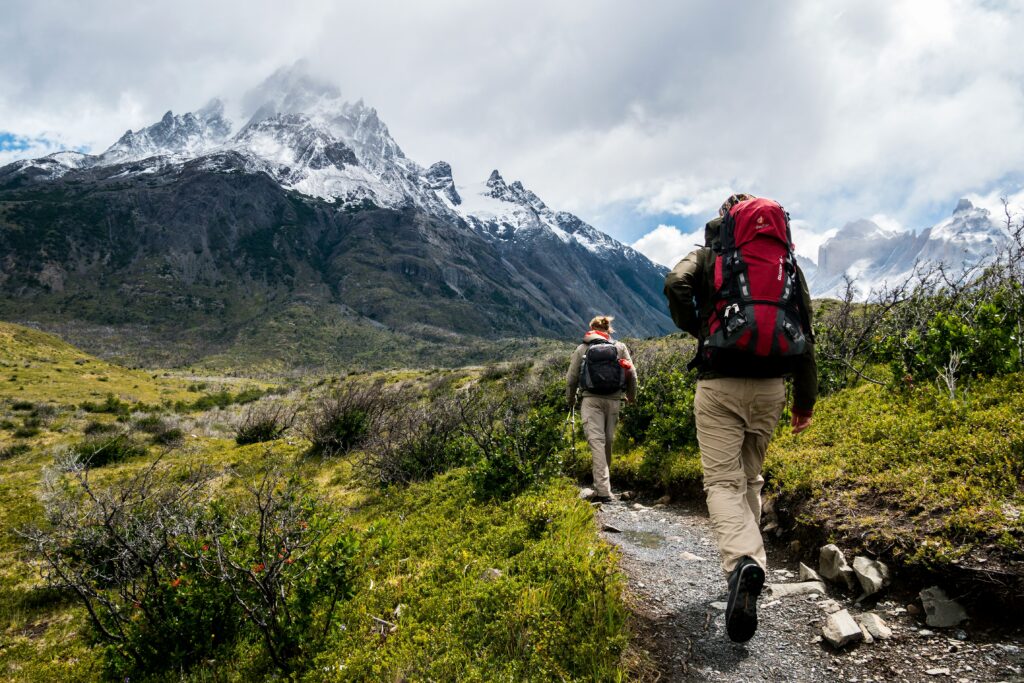
A day hike could be a simple walk through a forest or a short walk. A light backpack for a leisurely hike with a capacity of up to 35 liters is the ideal solution. My proposal is on an individual level without additional equipment needs a backpack from 15lt to 30lt
Hiking with a stay in the countryside
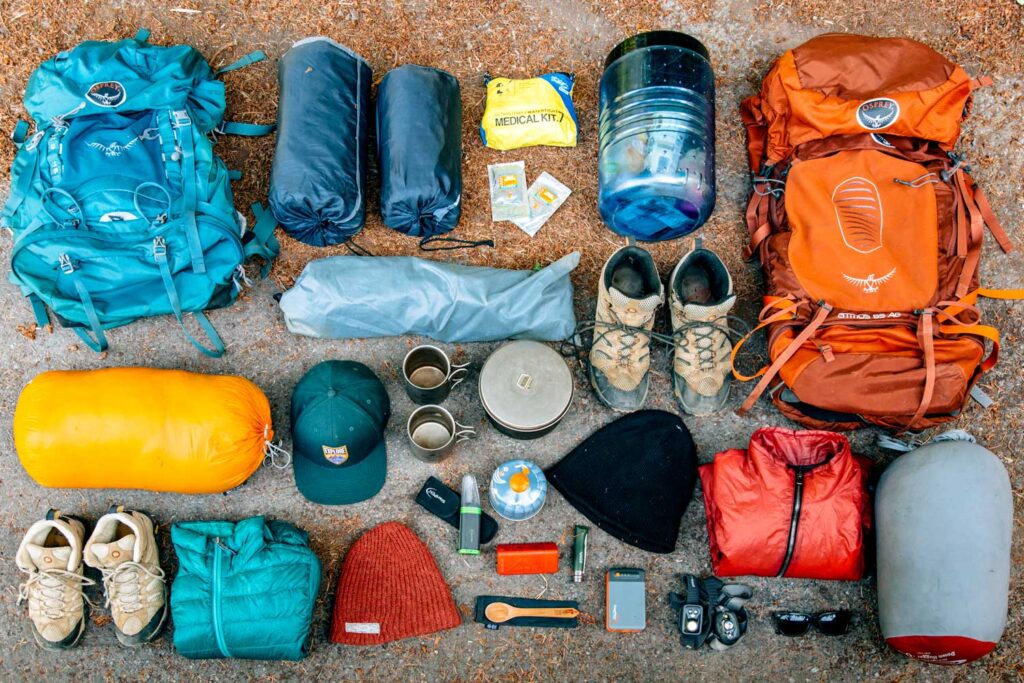
If you want to enjoy spending the night outdoors without restrictions, you will need camping equipment such as a tent, sleeping bag, mat, etc. as well as food and extra clothes, the right choice for this is a backpack with a capacity of 30-50 liters. My suggestion is on an individual level without additional equipment needs a backpack from 40lt to 55lt
Multi-day hike
If we now have a long trail that will take several days of hiking, and we spend the night along the route every night somewhere different, we should choose a backpack with a capacity of 55-85+ liters. In the latter case, my suggestion is on an individual level without additional equipment needs a backpack from 55lt to 85lt
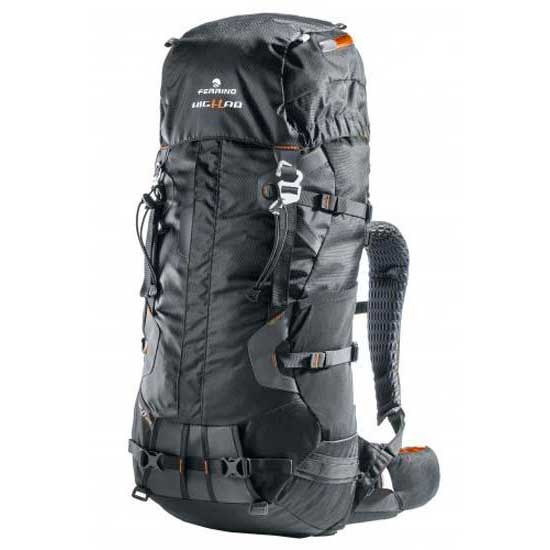
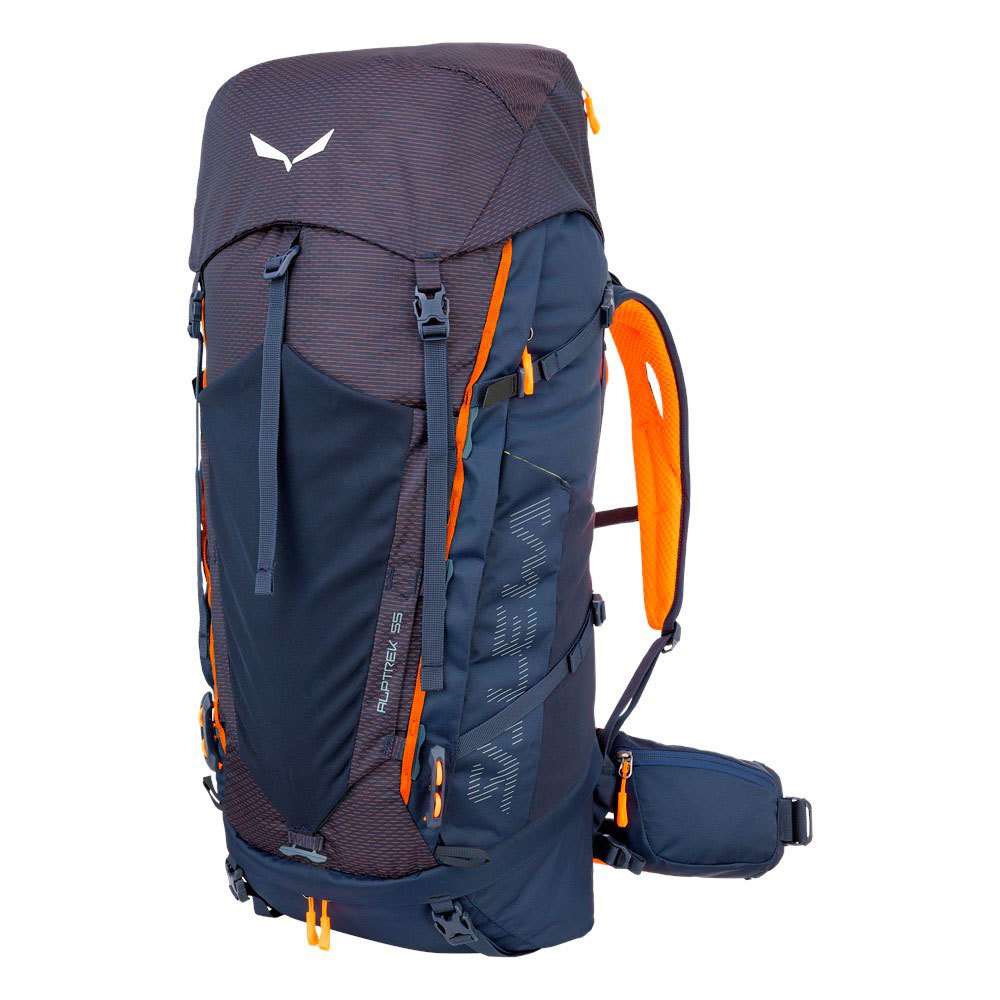
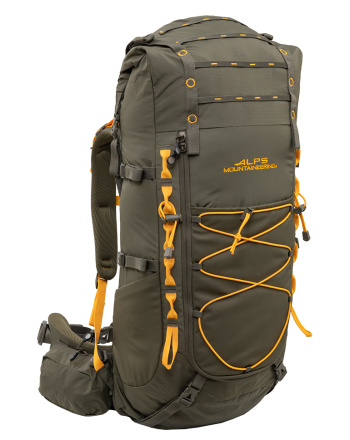
The type of activity Right after the hours of use we have the type of activity> The activity we will do (climbing – hiking, etc.) is the one that will determine us and the required needs we have. Write down the materials you will need to transport in a list so that you can find your needs in required liters.
Since we have answered the above, we will now have to see the main characteristics that we must take into account in order to choose the right one according to our needs.
The weight The weight of a loaded backpack should not exceed 10% of the user’s weight. If someone weighs 65 kg, the total weight on their back should not be more than 6.5 kg. If the weight on the back increases above 6.5 kg, the fatigue for the person begins and becomes greater. This is a basis because there are many times that our equipment needs force us to carry more weight than 11%.
Resilience
The material from which the backpack is made is one of the basic elements that our backpack must have. Choose materials that are: Durable (e.g. Polyester Ripstop) Waterproof Very few backpacks are 100% waterproof, because 90% of the time they don’t need to be. Very rarely on an excursion will one be forced to travel long distances with one’s backpack in the rain.
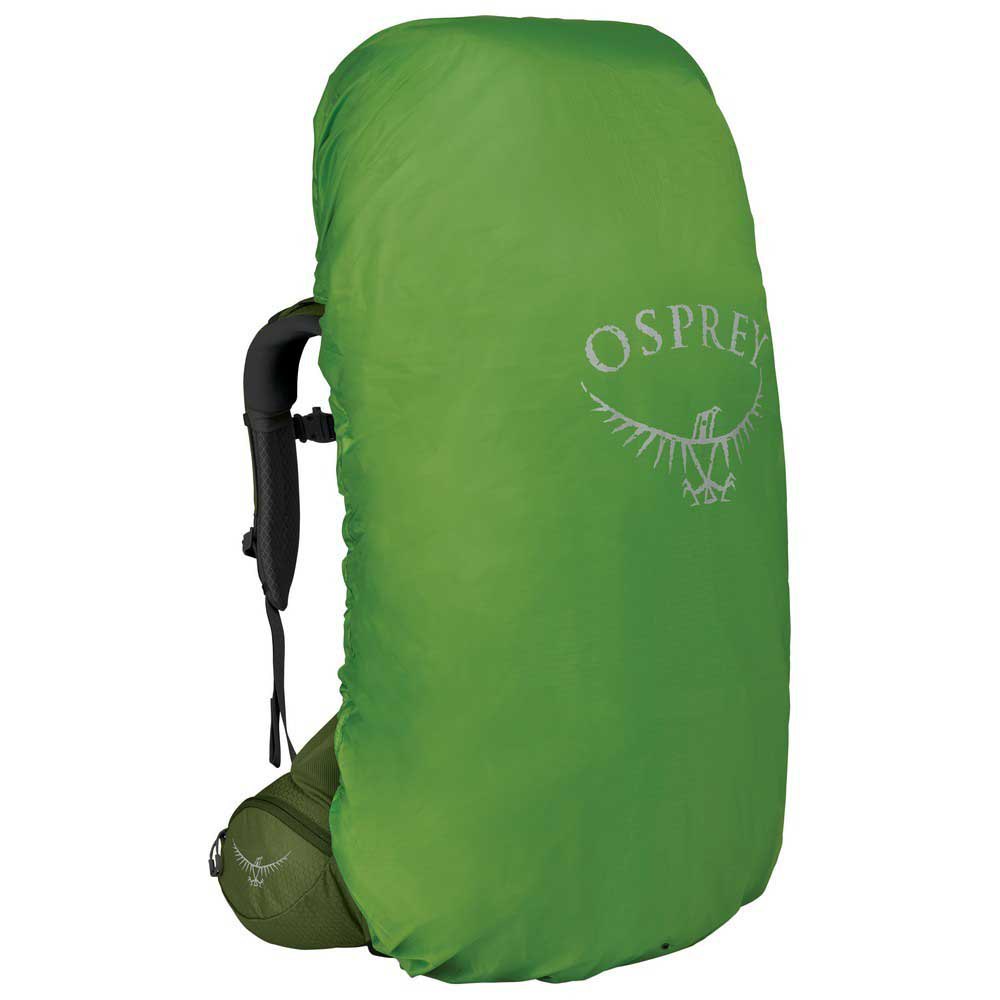
Most modern day backpacks are made from lightweight polyester fabrics that are not 100% waterproof, but can withstand a little rain to keep your stuff dry. Several of these backpacks have a built-in rain cover that is quickly put on if it starts to rain. You can waterproof the backpack with the special waterproofing products available.
The cases
Some backpacks have well thought out pockets that help the user even more. For example, there are backpacks with special pockets with a soft lining to put your mobile phone or glasses inside so they don’t get scratched. There are also backpacks with internal waterproof pockets to put wet clothes inside. The backpacks can have pouches on the side or special loops on the front to put your hiking poles.
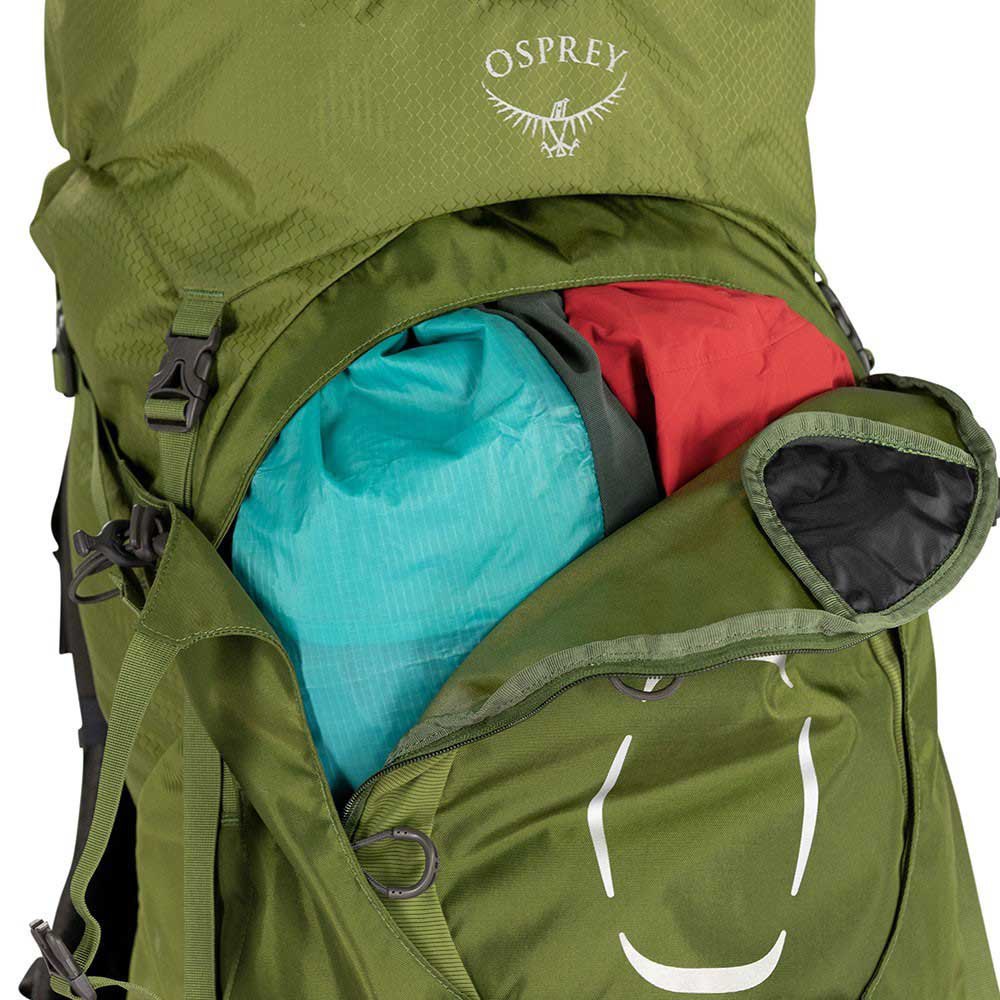
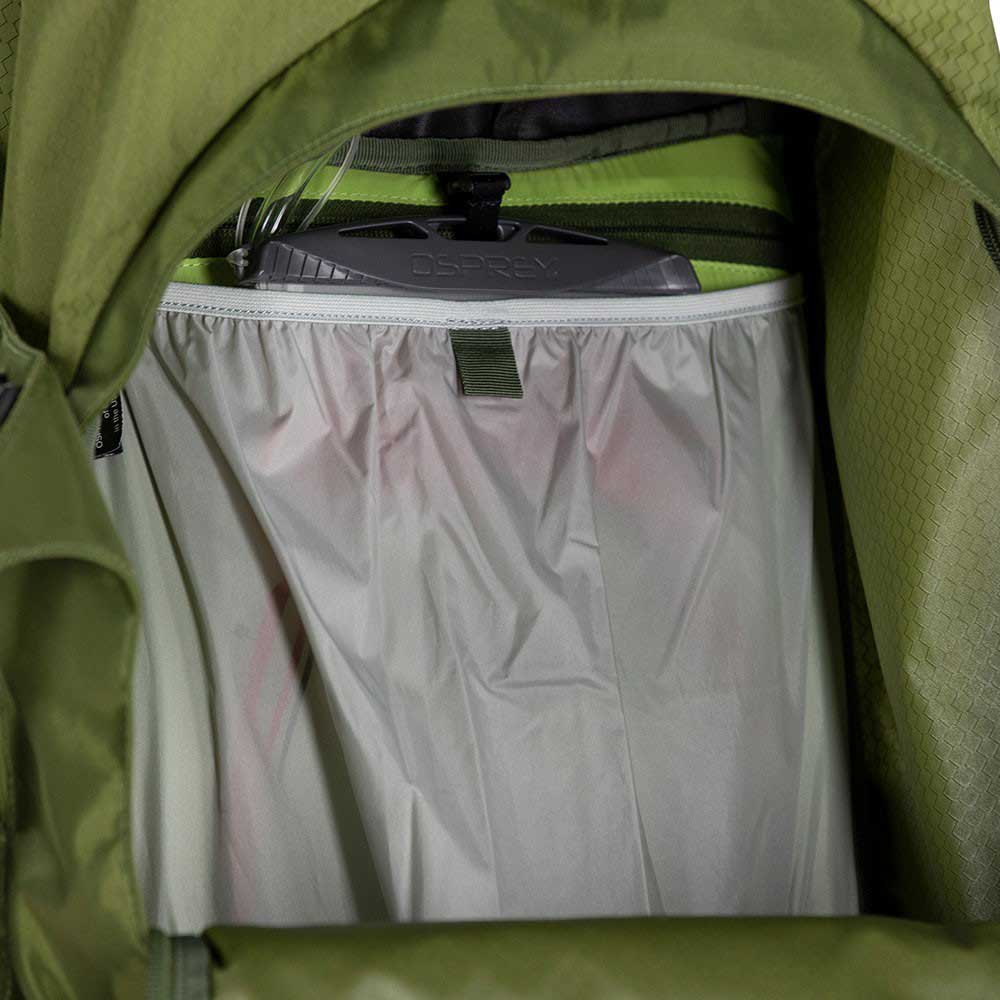
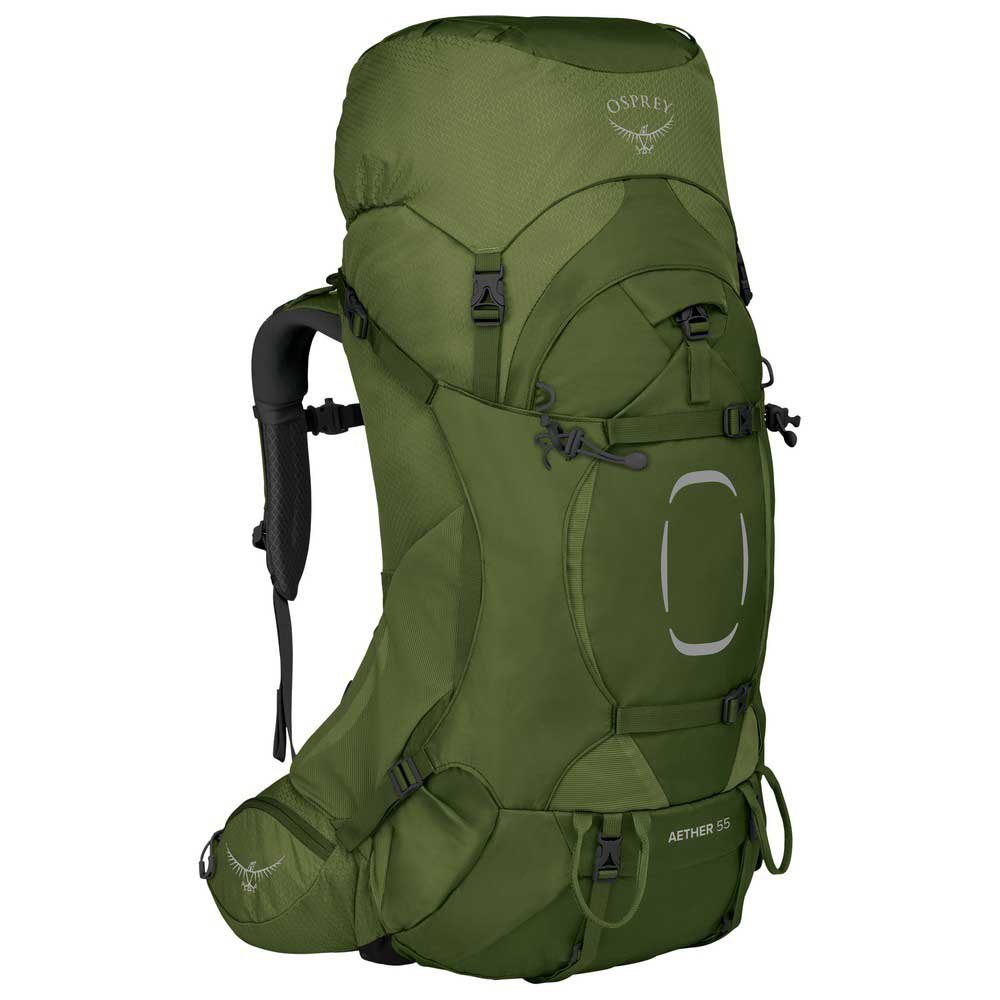
Several backpacks have a special compartment at the bottom that is separated from the main part of the backpack. This space can be joined to the main part of the backpack and create a larger space. Also, there is a large zipper in the front, along the length of the backpack, for quick access to the things inside the backpack. Basics Lower sleeping bag compartment Main compartment for personal items, tent, catering etc. Placement for a water bag inside the bag. Side positions for water, map, flashlight, shelter, etc. Small pouch on waist belt for easy access to phone, snacks, etc. Cap case for sunglasses, wallet, etc.
The frame
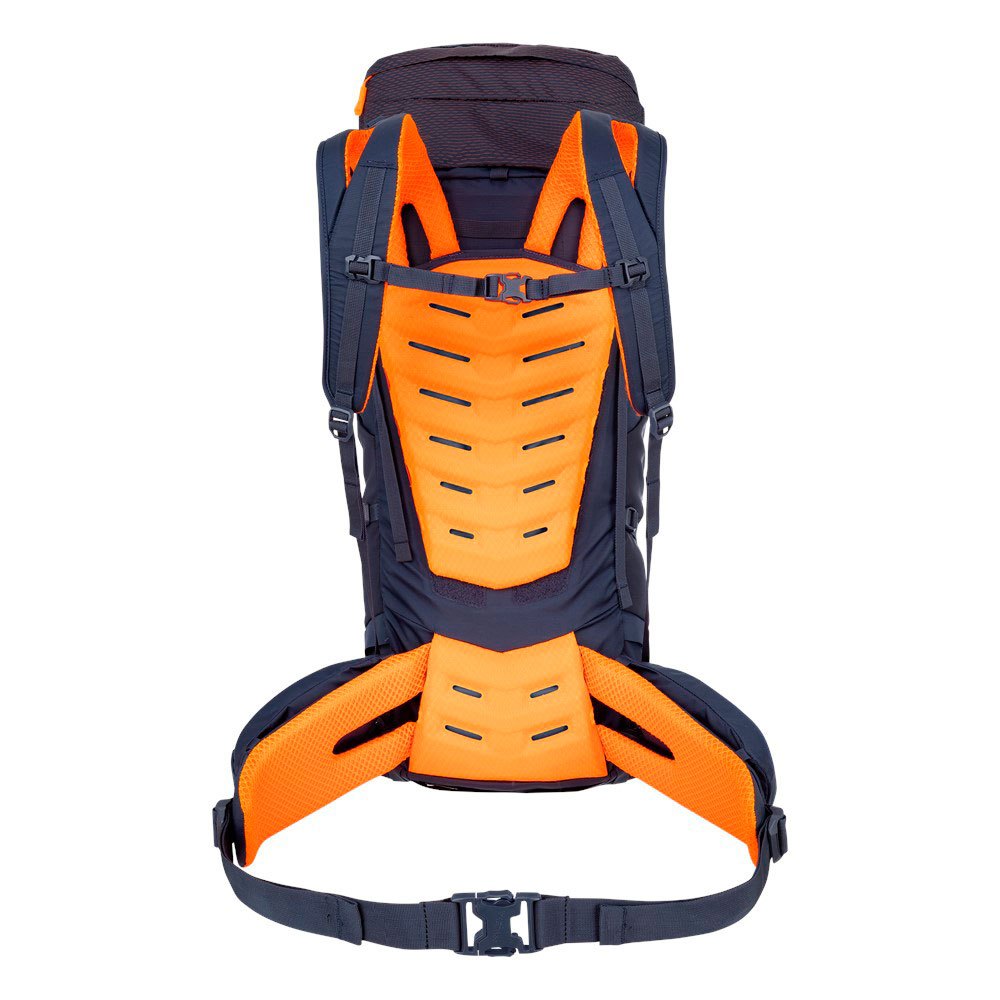
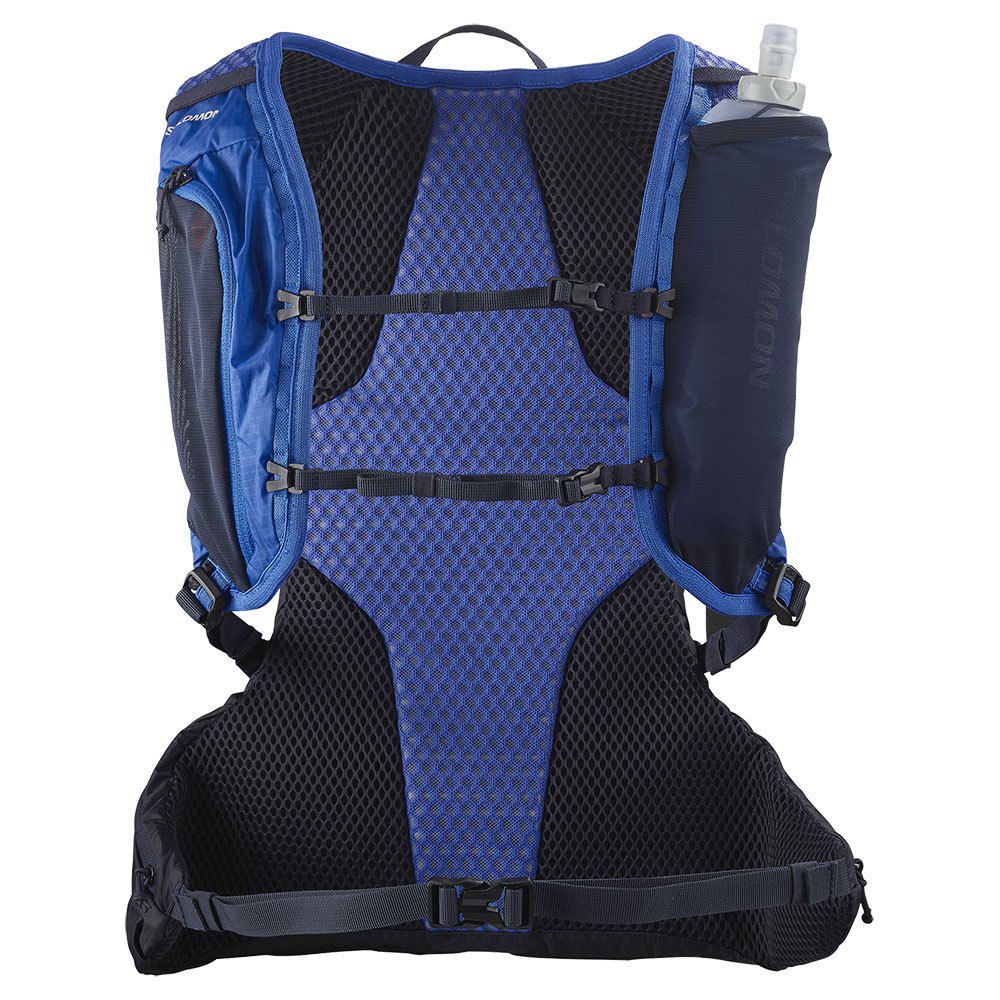
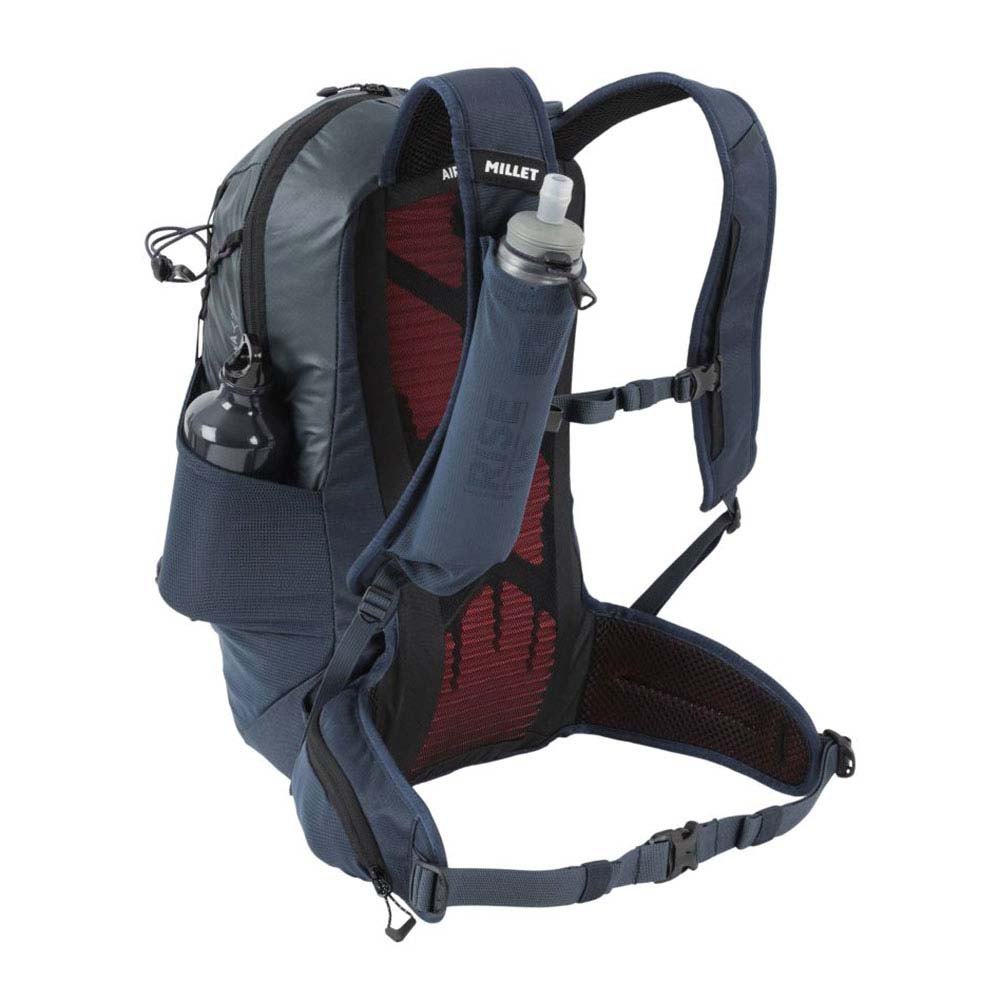
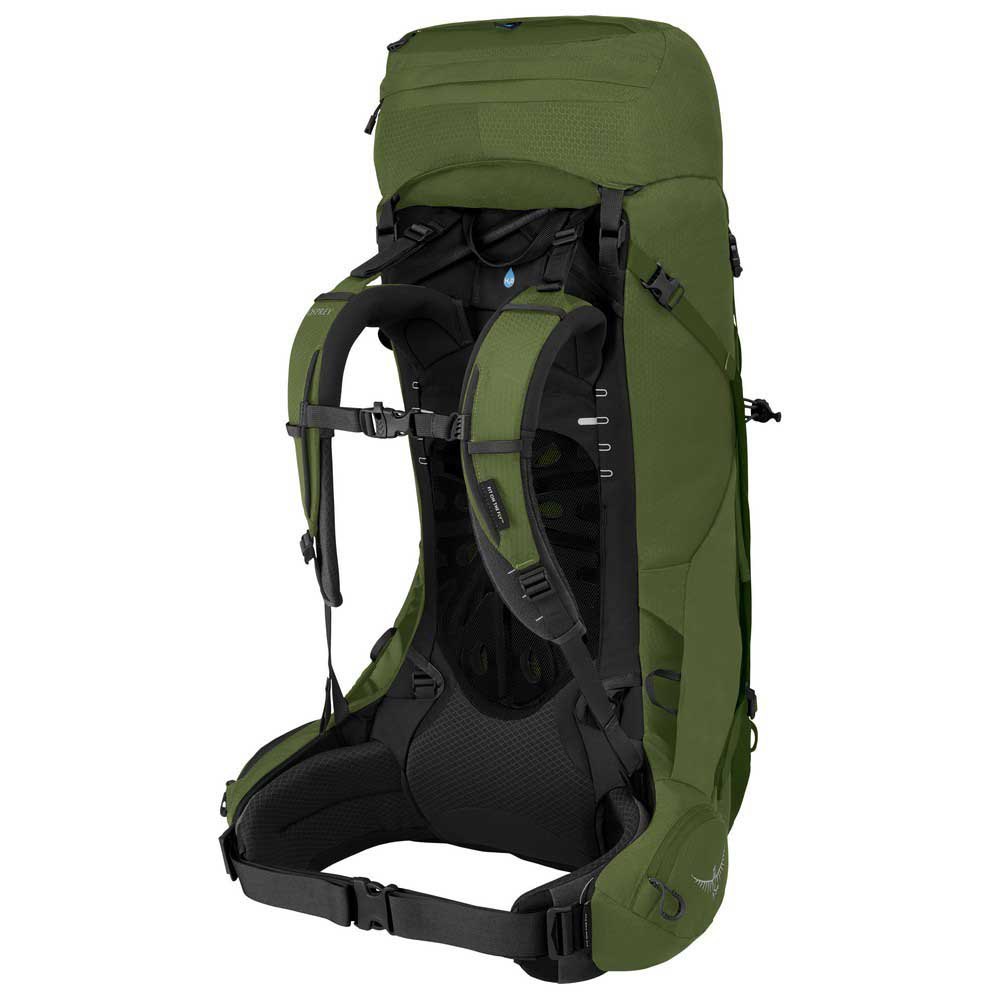
Most backpacks now, especially those larger than 20lt, have an aluminum or plastic inner frame. This frame keeps the backpack in the right shape and properly distributes the weight of the backpack towards the body. It is essential and you will find it in almost all modern backpacks. The backpacks also have reinforced waist straps, with pads to protect the hips and lower back from the weight of the backpack.
The waist strap provides support and distributes the load of the backpack evenly, reducing pressure and any problems. Also, most backpacks have a stabilizing chest strap that keeps the backpack stable while hiking, but also does something else very important: it slightly moves the backpack closer to the body’s center of gravity (brings it even closer to the back), making it more comfortable hiking.
Straps All backpacks are placed on the back and supported by the 2 shoulder straps. Shoulder straps should be reinforced, comfortable and ventilated to wick sweat moisture away from your body. They usually have soft foam material to make carrying the load as comfortable as possible. All of the above straps are naturally adjustable to fit your body type exactly. Waist belt. Its correct position is to rest on the bones of the pelvis. Hand strap. It is the strap that we tighten to adjust the backpack. He brings the backpack close to the back.


Shoulder strap. It is the Strap that we tighten to adjust the backpack. Brings the top of the backpack close to the shoulders. The further the backpack is from the back, the more the backpack will lean back. Chest strap. It firmly holds the “sleeves” of the backpack so that they do not open & slide towards the hands. Gives stability Moves up and down so it doesn’t get in the way. Additional side straps. They help to secure items on the outside of the backpack. However, we should remember that it is generally not good to hang things outside the backpack.
Strap on cap
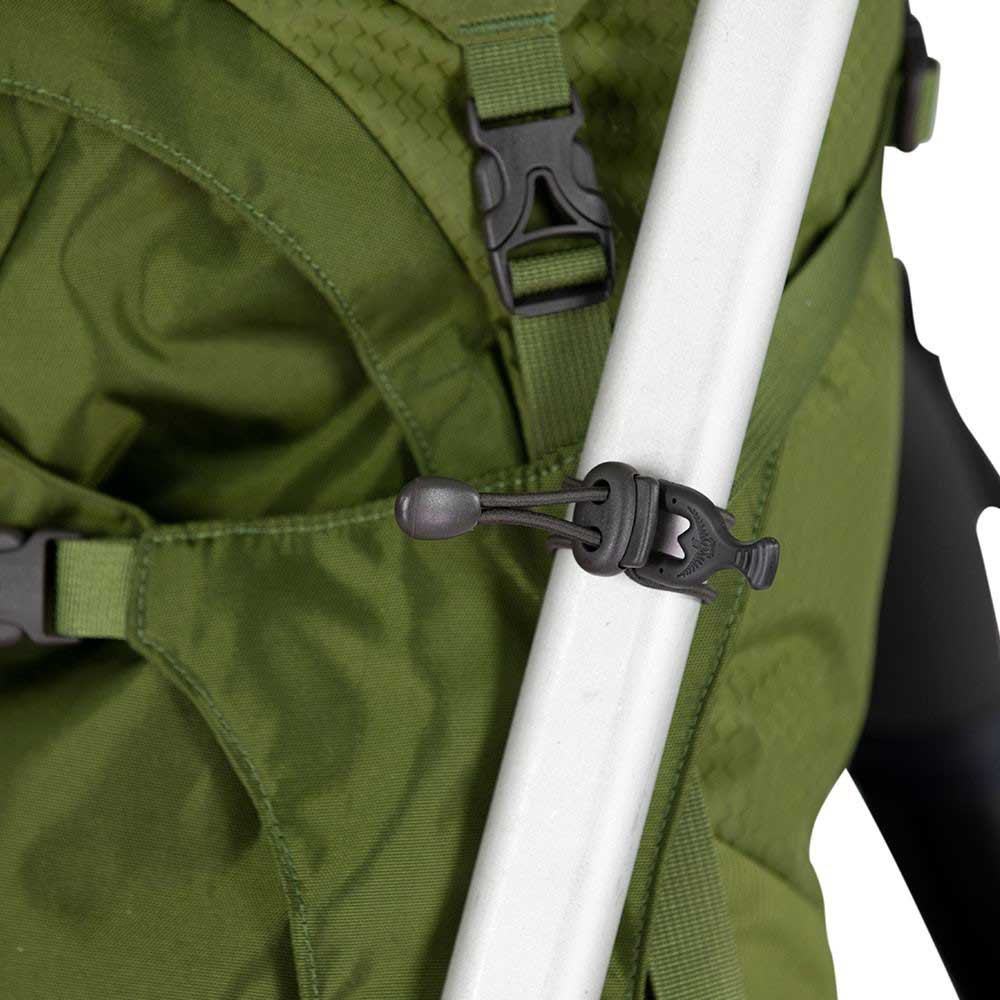
Many backpacks have elastic over the backpack lid to hold things in place. Other positions Place for baton. In the front part of the backpack there are in most backpacks 2 rubber bands that are used to fix the batons. Thumb rest. Helps to rest the hands During long journeys it prevents the swelling of the fingers caused by the blood that descends towards the palms when the hands are in a vertical position.
Size – Body length
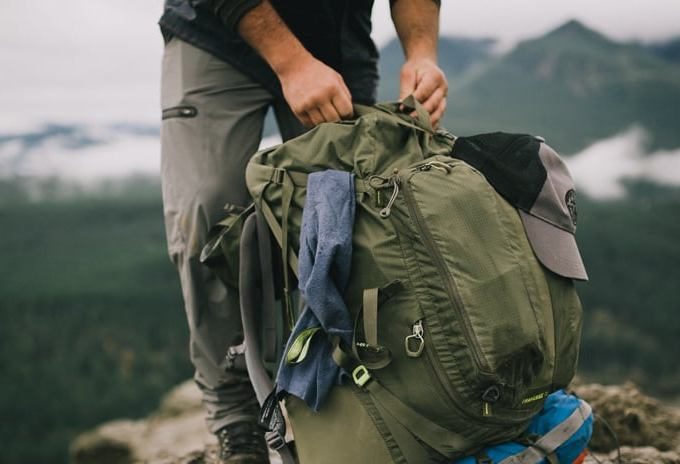
When we say trunk length we mean the length of the back from the seventh vertebra to where the pelvis begins (the iliac crest). The seventh vertebra is relatively easy to find if one bends the head: it is the point where the shoulders join the neck. Usually the length of the trunk is proportional to the height of each person, but several times there can be a significant disproportion. That is, there is a chance that a tall person has a shorter torso length than a shorter person.
Some backpack manufacturers list in their specifications the trunk length corresponding to each backpack. Also, several backpacks are designed specifically for women who have a shorter torso.
The Sustainable Proposals
Try to leave as small a footprint as possible on the planet, there are many companies in the world that use environmentally friendly materials to make their backpacks. Ask the sellers and choose a backpack from the specific materials. This ensures the reduction of materials that end up in the natural environment, and you also contribute to the sustainability of the planet.
What we like
Taste is relative and the options are many, choose by summarizing all of the above and put your personal touch. And since you have already bought them, let’s go to the two main things that we have to do, the placement of the materials that we will load into the backpack, i.e. the stuffing and finally the adjustment of the backpack back to us.
Placement of materials
Choose your needs and the equipment you need carefully. When you do this, you will need to properly balance the load between front and back and left and right down and back. If your materials are misplaced and lean to one side, your body will have to work to counteract this imbalance and will tire as a result.
You also have the risk of falling, if there are slopes or difficult passages. It is equally important to keep the load compact (do not move). The rule of thumb is that heavy items should be placed in the middle of the backpack closest to your back, while medium-weight items go on the bottom and sides, with lighter items on top. At the base of the backpack place your sleeping equipment (sleeping bag, mattress) and your spare clothes.
On the width of the backpack the water bag along the back. In the middle of the backpack we place the tent (vertically), the gas stove, the cooking set and your food. Everything should be as close to your spine as possible. If there is not enough space for your tent and it is light, you can attach it to the bottom of your backpack using the hooks on the outside. At the top of the rucksack place your clothing and first aid kit on hand.
In the small cases your sun cream, maps, compass and sunglasses. Cereal bars or a camera can be placed in the waist pocket for quick access. Poles will be better out of the bag, glued vertically.
Backpack setup
To get the most out of your backpack, it should also be adjusted correctly so you don’t feel like you’re carrying the weight of the world on your shoulders.
Start and loosen all straps such as shoulder straps, waist belt and load regulators.
Put on the backpack, put the belt around your waist and tighten it
A well-fitting belt should match the shape of your hips. Carrying more of the load at the waist rather than the shoulder straps, you won’t feel all the weight of the backpack on your shoulders.
Tighten the shoulder straps
They should be tight enough to hold the backpack in place, without pulling your shoulders too much. There should be enough space for a finger to pass between your shoulder and the shoulder strap.
Adjust the load regulators and sternum strap
Your backpack and back should move like one. Tighten the load controllers tightly to prevent the backpack from pulling you back. However, leave some leeway so that it does not hinder your movements.
Take the time to test your backpack by loading it with equipment to examine comfort and how it sits. You can also borrow different bags from your friends to try them out in real conditions, loaded with your equipment.
Have a nice trip
Peponakis Vasilis BOA m.g.m.i
Tags
